Nothing’s more frustrating than discovering your solar panels aren’t delivering the power you expected. Whether you’re dealing with low solar output on your RV system or your home backup setup, the solution often lies in identifying and fixing a few common culprits.
Today, I’ll walk you through the most frequent causes of underperforming solar systems and give you practical, DIY-friendly solutions to get your panels producing at full capacity again.
Understanding Normal vs. Low Solar Output
Before diving into troubleshooting, let’s establish what normal output looks like. Your solar panels should produce close to their rated wattage under ideal conditions: clear skies, temperatures around 77°F, and panels positioned perpendicular to the sun.
However, real-world conditions rarely match laboratory standards. Most systems operate at 75-85% of their rated capacity on good days. If you’re seeing consistently lower numbers, it’s time to investigate.
Keep in mind that seasonal variations are normal too. Winter months naturally produce less power due to shorter days and lower sun angles. For detailed guidance on seasonal expectations, check out our guide to real sun hours and seasonal variations.
Quick Visual Inspection: Your First Line of Defense
Start your troubleshooting with a simple visual check. Walk around your system and look for obvious issues that might be causing low solar output.
First, examine your panels for dirt, debris, or bird droppings. Even a thin layer of dust can reduce output by 5-10%. Snow, leaves, or other obstructions can completely block sections of your array.
Next, scan for physical damage like cracked glass, bent frames, or loose mounting hardware. These issues not only affect performance but could pose safety risks.
Finally, check all visible wiring for signs of wear, corrosion, or loose connections. Pay special attention to junction boxes and connection points where moisture might have entered.
Shading: The Silent Performance Killer
Shading is probably the most common cause of disappointing solar performance. Even partial shade on one panel can dramatically impact your entire string’s output due to how panels are wired together.
Look for new shade sources that weren’t there when you installed your system. Growing trees, new construction, or even accumulated debris on nearby structures can create shadows that didn’t exist before.
Morning and afternoon shadows are particularly tricky because they change throughout the year as the sun’s path shifts. What worked perfectly in summer might create problems in winter months.
If you can’t eliminate the shade source, consider relocating affected panels or exploring micro-inverters and power optimizers that minimize the impact of partial shading on your system’s overall performance.
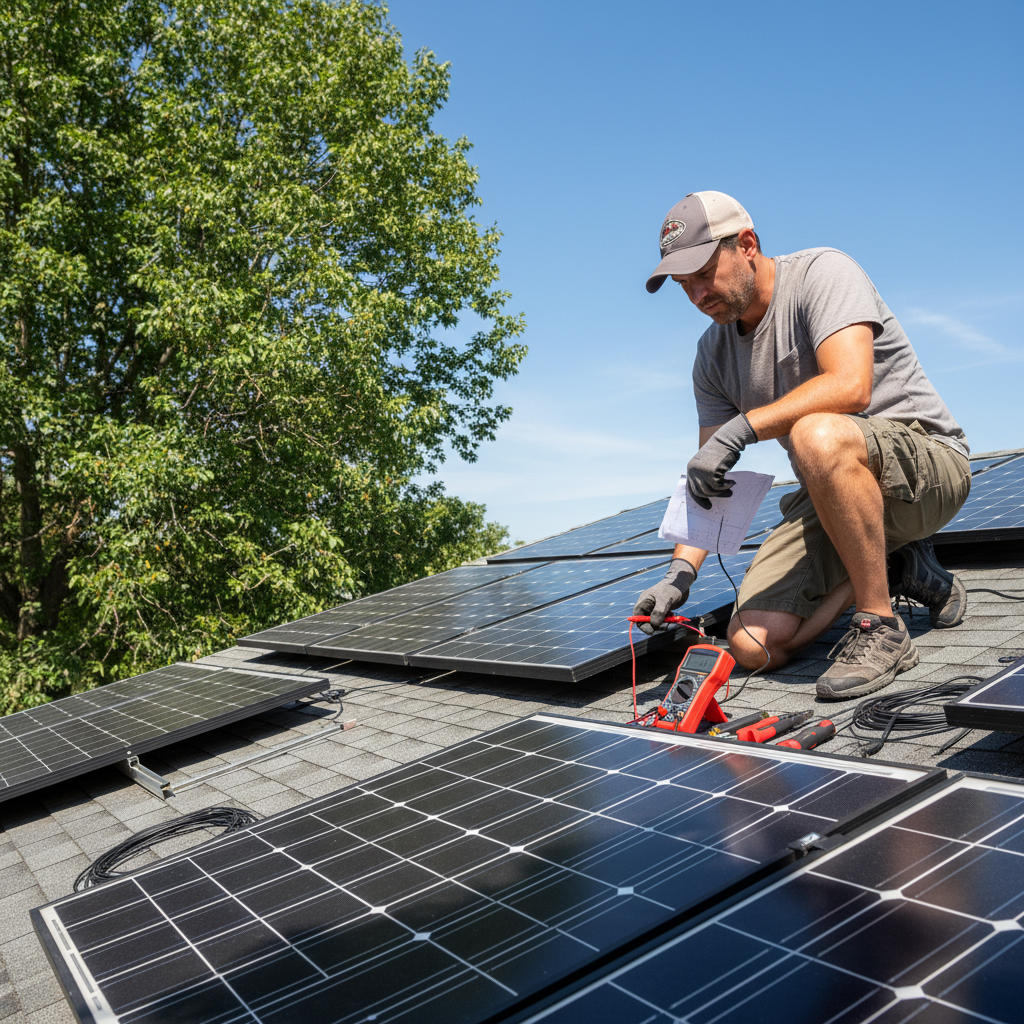
Connection Problems: Check Every Link in the Chain
Loose or corroded connections are another major culprit behind low solar output. These issues can develop gradually, making them hard to spot without systematic checking.
Start at your panels and work your way down to your charge controller or inverter. Tighten all MC4 connectors and check for signs of overheating like melted plastic or discolored wires.
Don’t forget about your grounding connections. Poor grounding not only affects performance but creates serious safety hazards. Clean any corroded ground lugs and ensure all connections are tight.
For a comprehensive look at connection issues, our article on common solar wiring mistakes covers the most frequent problems we see in DIY installations.
Panel Cleaning: Simple Maintenance, Big Impact
Dirty panels are often overlooked but can significantly reduce your system’s output. The good news? This is one of the easiest problems to fix.
Most panels need cleaning 2-4 times per year, depending on your location. Areas with frequent rain may need less attention, while dusty or pollen-heavy regions require more frequent cleaning.
Use only mild soap and water with a soft brush or squeegee. Avoid harsh chemicals or abrasive materials that could damage the panel surface or anti-reflective coating.
Clean your panels early morning or late afternoon when they’re cool to prevent thermal shock from cold water hitting hot glass. For detailed cleaning techniques and tool recommendations, check out our complete solar panel cleaning guide.
System Component Issues: Beyond the Panels
Sometimes the panels themselves are fine, but other components in your system are causing the bottleneck. Your charge controller, inverter, or even battery bank could be limiting your low solar output.
Check your charge controller’s display for error codes or unusual readings. Make sure it’s properly sized for your panel array. An undersized controller will clip peak power production, while a controller in the wrong operating mode might not optimize performance.
Battery issues can also masquerade as panel problems. A failing battery bank that can’t accept a full charge will cause your charge controller to reduce panel output. Monitor your battery voltage and charging patterns to identify potential issues.
If you’re using a PWM charge controller on a larger system, consider upgrading to MPPT technology. Our comparison of MPPT vs PWM charge controllers explains when an upgrade makes sense.
Environmental Factors: Working With Mother Nature
Weather and environmental conditions play a huge role in solar performance. Understanding these factors helps set realistic expectations and identify when you have actual problems.
High temperatures actually reduce panel efficiency. For every degree above 77°F, most panels lose about 0.4% of their rated output. This means your panels might produce less power on a hot, sunny day than on a cool, bright day.
Cloud cover obviously affects output, but even hazy or smoky conditions can significantly reduce performance. Wildfire smoke, in particular, can cut production by 50% or more.
Seasonal changes in sun angle and daylight hours are perfectly normal. Winter performance will always be lower than summer, even on clear days. For strategies to maximize winter performance, read our guide to winter solar maintenance.
When to Call for Professional Help
While many solar issues are DIY-friendly, some problems require professional attention. Don’t hesitate to call an expert if you’re dealing with electrical issues beyond your comfort level.
Inverter failures, complex wiring problems, or suspected panel damage often need professional diagnosis. Safety should always be your top priority when working with electrical systems.
Additionally, if you’ve tried all the troubleshooting steps and still have unexplained low solar output, a professional can perform more advanced testing with specialized equipment to identify subtle issues you might miss.
Preventing Future Performance Issues
Prevention is always better than troubleshooting. Regular maintenance and monitoring can help you catch problems early before they significantly impact your system’s performance.
Create a simple maintenance schedule that includes visual inspections, cleaning, and connection checks. Most homeowners can handle these tasks safely with basic tools.
Consider investing in a monitoring system that tracks your production over time. Many modern charge controllers and inverters include built-in monitoring, or you can add aftermarket solutions that send data to your smartphone.
Document your system’s normal performance patterns so you can quickly identify when something changes. This baseline data becomes invaluable when troubleshooting future issues.
Remember, a well-maintained solar system should provide decades of reliable service. By staying proactive with maintenance and addressing issues promptly, you’ll maximize both your energy production and your return on investment.
Ready to size your system properly from the start? Check out our comprehensive solar panel sizing guide to ensure you’re getting the performance you expect from day one.