Built your DIY solar system and wondering if it’ll actually power your stuff when you need it? Join the club. I spent six months admiring my shiny new setup before I had the guts to solar load testing with real appliances. Spoiler alert: my “perfectly sized” system had some surprises waiting.
Here’s the thing nobody tells you: building a solar system is the easy part. The hard part is knowing it’ll work when the power goes out or you’re three days into a camping trip with dead batteries.
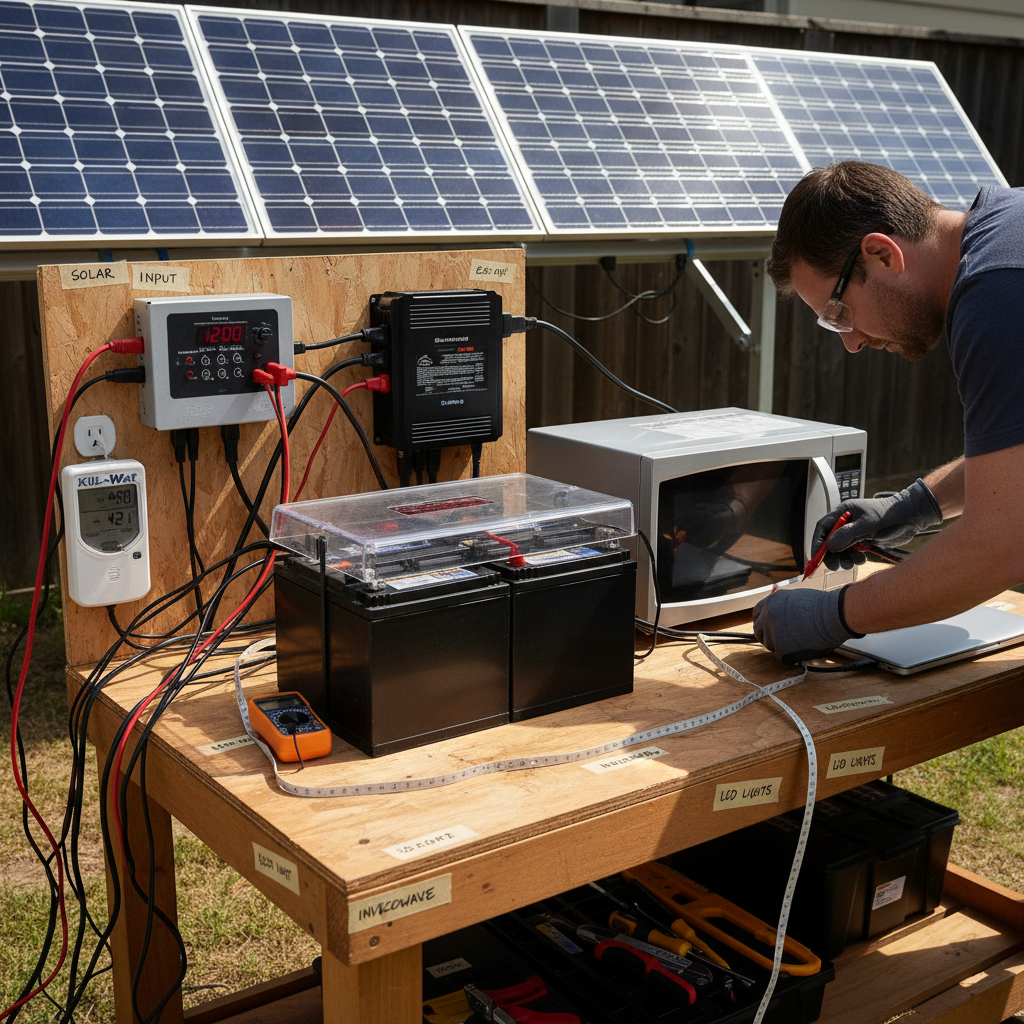
Let me save you the anxiety attacks and show you how to properly test your system. No fancy equipment needed, just some basic tools and the courage to actually flip some switches.
Why Solar Load Testing Matters (Trust Me on This)
I thought I was clever. Calculated my power needs perfectly, sized everything according to the guides. Even read through proper solar panel sizing calculations twice. Then came the reality check.
My microwave – you know, the one I calculated at 1200 watts – actually pulled 1800 watts on startup. My inverter shut down faster than my motivation on a Monday morning. Turns out inrush current is a real thing, and math doesn’t care about your confidence level.
Here’s what happens when you skip load testing:
- Your system dies under real loads
- You discover weak points during emergencies
- Expensive components fail from unexpected stress
- Your family questions your DIY credibility (the worst part)
Better to find problems in your driveway than during a power outage, trust me.
Essential Tools for Solar Load Testing
Good news: you don’t need a lab full of expensive meters. Most of this stuff you probably already have or can borrow from your neighbor who thinks you’re crazy anyway.
The Must-Have List
- Kill-A-Watt meter – About $25 and worth its weight in gold
- Digital multimeter – Any basic model works fine
- Infrared thermometer – Check for hot spots (optional but helpful)
- Timer or stopwatch – Your phone works perfectly
- Notebook and pen – Old school, but batteries never die
Test Appliances You Actually Use
Don’t test random stuff. Focus on what you’ll actually need:
- Refrigerator/freezer (the big one)
- Coffee maker (priorities, people)
- Microwave
- Laptop chargers
- LED lights
- Phone chargers
- Medical devices if applicable
Whatever you calculated in your energy needs assessment, test those exact items.
Step-by-Step Load Testing Process
Time to get your hands dirty. Well, not literally – solar systems are pretty clean. But you know what I mean.
Start Small and Work Up
Don’t be a hero. Start with small loads and gradually increase. Your ego can handle a failed LED light test. Your wallet can’t handle a fried inverter.
Phase 1: Light Loads (Under 100 watts)
Begin with LED bulbs, phone chargers, and small electronics. These should work flawlessly if your system is functioning at all. If they don’t, stop here and check your basic troubleshooting steps.
Phase 2: Medium Loads (100-500 watts)
Move up to laptops, small fans, and power tools. Watch your battery voltage closely. If it drops below 12 volts under load (for a 12V system), your battery bank might need attention.
Phase 3: Heavy Loads (500+ watts)
Now for the fun stuff. Microwaves, hair dryers, and power tools. This is where most DIY systems show their true colors. And sometimes those colors aren’t pretty.
What to Monitor During Testing
Don’t just plug things in and hope for the best. Pay attention to these key metrics:
- Battery voltage under load – Should stay above safe discharge levels
- Inverter temperature – Hot inverters become dead inverters
- Actual power draw vs. rated – Surprises lurk here
- System runtime – How long can you actually run things?
Testing Your Battery Bank Performance
Your batteries are the heart of your system, and hearts can be deceptive. They might look healthy but fold under pressure like my diet plans.
Capacity Reality Check
That 200Ah battery bank? It’s probably not giving you 200Ah of usable power. AGM batteries should only discharge to 50%, and lithium batteries have their own quirks too.
Run a timed test with a known load. A 100-watt bulb should run for 10 hours on a 100Ah battery bank (in theory). If it doesn’t, your batteries might be telling you something important.
Voltage Sag Test
Connect a heavy load and watch your battery voltage. Healthy batteries should maintain voltage reasonably well under load. If voltage drops like a rock, your batteries might be weak or undersized.
Inverter Load Testing Reality
Inverters lie on their spec sheets. Well, not lie exactly, but they’re optimistic. Like online dating profiles, but for electronics.
Surge vs Continuous Power
That 2000-watt inverter might handle 2000 watts continuously, but what about startup surges? My microwave’s startup surge taught me this lesson the hard way.
Test appliances with high startup current separately. Motors, microwaves, and anything with a compressor can surprise you. If your inverter keeps shutting down, the surge rating might be too low.
Modified vs Pure Sine Wave Reality
Some appliances are picky about their AC power. If you have a modified sine wave inverter, test everything you plan to use. Some electronics just won’t play nice, no matter how politely you ask.
Common Load Testing Failures (And Solutions)
Let me share the greatest hits of load testing failures, so you can feel better about yours.
The “Everything Works Until It Doesn’t” Problem
Symptom: Small loads work fine, but adding one more thing kills the whole system.
Solution: Your inverter is probably undersized or your wiring has voltage drop issues. Check your wire gauge calculations and inverter sizing.
The “Batteries Die Faster Than Expected” Issue
Symptom: Runtime is way shorter than your calculations predicted.
Solution: Either your batteries are degraded, undersized, or you’re drawing more power than expected. Double-check actual power consumption with that Kill-A-Watt meter.
The “Works in Summer, Dies in Winter” Mystery
Symptom: System performance drops when it’s cold.
Solution: Battery capacity drops with temperature. Cold batteries are grumpy batteries. Consider this in your system design, especially for RV applications.
Document Everything (Seriously)
I know, I know. Documentation is about as exciting as watching paint dry. But when your system acts up six months later, you’ll thank yourself for keeping notes.
Record:
- What loads you tested and for how long
- Battery voltages under different loads
- Any problems or unexpected behavior
- Maximum power draw achieved
- Runtime for various load combinations
Trust me, future you will appreciate the effort.
When to Call It Good (Or Get Help)
Your solar load testing doesn’t need to be perfect. It needs to be realistic. If your system can handle your actual daily loads with some safety margin, you’re winning.
However, if you’re consistently hitting limits or having failures, don’t ignore them. Better to address problems now than during an emergency.
Sometimes the solution is simple – better wiring, larger inverter, or additional batteries. Sometimes it means accepting that your 100-amp-hour battery bank won’t run a 3000-watt microwave for very long. Physics doesn’t negotiate.
Signs Your System Passes the Test
- Handles your daily loads without voltage issues
- Inverter stays cool under normal operation
- Battery runtime matches reasonable expectations
- No mysterious shutdowns or failures
If you can check these boxes, congratulations. Your system actually works. Now you can sleep peacefully knowing your solar setup won’t let you down when you need it most.
And if it doesn’t pass? Well, at least you found out in your driveway instead of during a three-day power outage. That’s still a win in my book.