Your solar system was humming along yesterday, charging batteries and keeping your coffee maker happy. Now it’s deader than my first attempt at wiring. Welcome to solar troubleshooting hell, where everything looks fine but nothing works right.
I’ve been there. Staring at a bunch of expensive equipment that’s supposed to be “plug and play” but decided to take an unscheduled vacation instead. The good news? Most solar problems aren’t actually broken parts—they’re connection issues, settings, or that one wire you forgot about.
Let’s walk through the detective work to find what’s actually wrong before you start throwing money at random components.
Start With Solar Troubleshooting Basics: The Big Picture
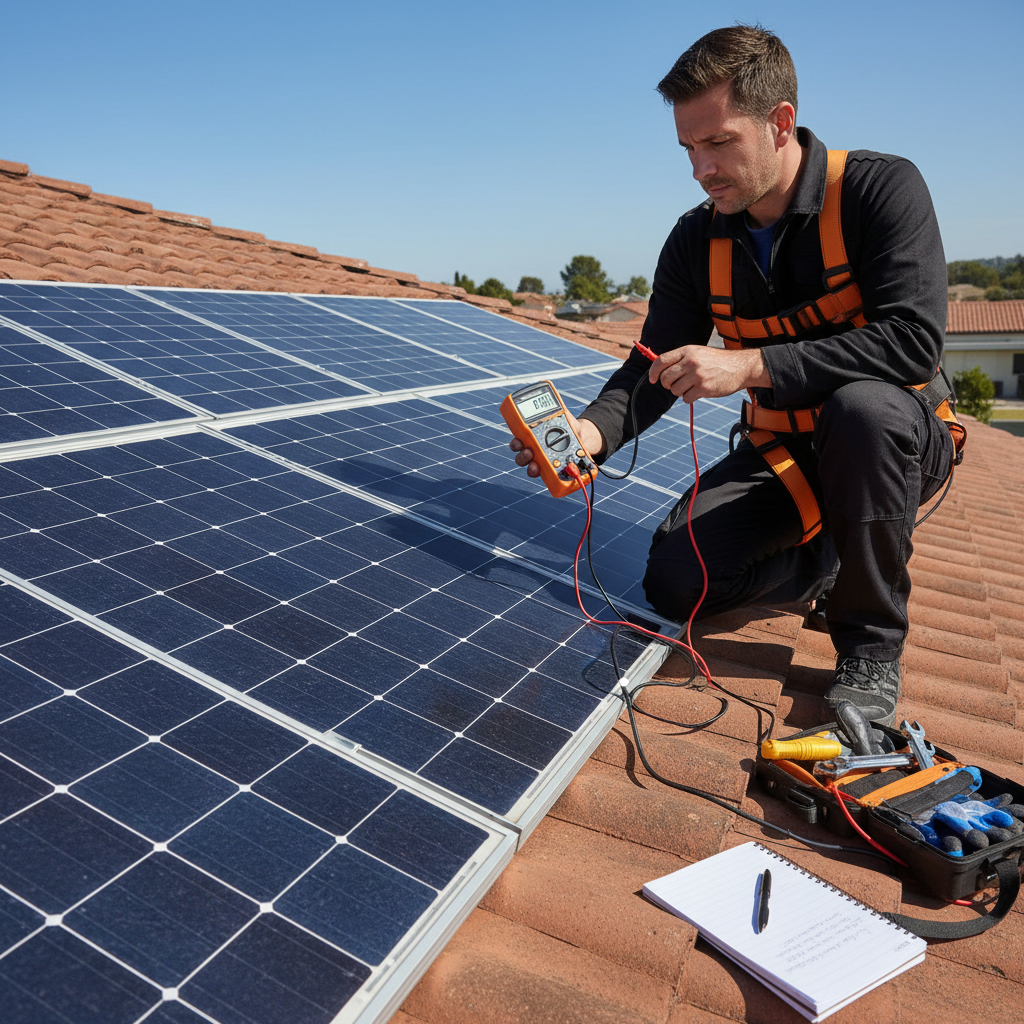
Before you panic and start unscrewing everything, grab your multimeter. Yes, that cheap one from Harbor Freight works fine. We’re going to check the obvious stuff first because I guarantee you’ll feel pretty dumb if it’s just a loose connection.
Check your system monitoring if you have any. No fancy monitoring setup? Your charge controller usually has some basic display. Write down what it’s showing—or not showing.
Look for any obvious physical damage. Melted wires smell terrible and are usually easy to spot. Check all your fuse boxes and breakers. I once spent two hours troubleshooting a “dead” system because a squirrel had somehow flipped a breaker I didn’t know existed.
Check Your Solar Panels First
Solar panels are actually pretty reliable. They just sit there and make electricity when the sun hits them. But connections? Connections love to fail at the worst possible moment.
Start by measuring voltage at the panels themselves. Disconnect them from your charge controller first—seriously, don’t skip this step. On a sunny day, you should see close to the panel’s open circuit voltage rating.
Got 12V panels? You should see around 21-22 volts per panel in full sun. If you’re seeing significantly less, you might have shading issues or panel degradation. Or more likely, a loose MC4 connector that looked fine but wasn’t.
Check every connection. Wiggle them. I’m not kidding—sometimes a connection that tests fine with a multimeter will fail under load because it’s barely hanging on.
Solar Troubleshooting Your Charge Controller
Your charge controller is the brain of the operation. When it’s confused, everything downstream gets confused too. Most failures here are settings, not hardware.
First, check if it’s getting power from the panels. Most controllers have LED indicators or displays showing input voltage. No input voltage usually means wiring problems, not a dead controller.
If you’re getting solar input but no battery charging, check your battery type settings. I can’t tell you how many people set up a lithium battery system with AGM settings. Different battery types need different charging profiles, and the controller needs to know what it’s dealing with.
Also check your voltage settings. If your controller thinks your 12V system is actually 24V, it’s going to act weird. Really weird.
Battery Bank Investigation
Dead batteries can make your whole system look broken when really it’s just one component. But battery problems can be tricky because they don’t always announce themselves.
Measure battery voltage at the terminals, not at your monitoring shunt or charge controller. Voltage under load is different from resting voltage, so test both. A battery that shows 12.6V sitting idle might drop to 10V under even a small load if it’s shot.
Check individual battery voltages if you have multiple batteries. One weak battery can drag down the whole bank. In series configurations, one dead cell can kill everything. In parallel, one weak battery becomes a power sink.
Look for corrosion on terminals. That white or green crusty stuff isn’t just ugly—it’s resistive. Clean it off with baking soda and water, then rinse and dry thoroughly.
Inverter and Load Problems
Sometimes the problem isn’t power generation—it’s power consumption. Your inverter might be working fine but shutting down because something is drawing too much power.
Disconnect all loads and see if the system stabilizes. Then add them back one by one. That innocent-looking phone charger might actually be a power vampire, or worse, damaged and creating a short circuit.
Check inverter error codes or warning lights. Most inverters will tell you exactly what’s wrong if you know how to read their signals. Low voltage shutdown? Overload? Overheating? Each problem has a different solution.
Also verify you sized everything correctly. If you’re trying to run a 1500W microwave through a 1000W inverter, you’re going to have problems. Check our inverter sizing guide if you’re not sure.
Wiring and Connection Detective Work
Here’s where most DIY solar problems actually live: in the wiring. Connections that looked perfect during installation have a way of loosening up over time, especially with temperature cycling.
Check voltage drop across connections. You should see virtually zero voltage drop across a good connection under load. Even a few tenths of a volt drop indicates resistance, which means heat, which means eventual failure.
Look for signs of overheating: discolored wires, melted insulation, or that distinctive smell of electrical problems. These are usually caused by undersized wires or poor connections, not equipment failure.
Don’t forget about wire gauge issues. That 14 AWG wire might have seemed fine for a short run, but if you’re pushing significant current through it, it’s going to cause voltage drop and heat problems.
Systematic Solar Troubleshooting Approach
When nothing obvious jumps out, work systematically from source to load. Start at the panels and work your way down to whatever isn’t working.
Measure voltage and current at each major connection point. Document what you find. Solar troubleshooting is easier when you can see patterns in the data instead of just random numbers.
Bypass components temporarily to isolate problems. If removing your charge controller from the circuit makes everything work, you know where to focus. Just don’t leave bypasses in place—they’re diagnostic tools, not permanent solutions.
Check your fuse and breaker protection throughout the system. A blown fuse might not be obvious, especially if it’s tucked away somewhere you don’t check regularly.
Most importantly, change only one thing at a time. I know it’s tempting to fix everything you think might be wrong, but then you won’t know what actually solved the problem.
Solar troubleshooting isn’t rocket science, but it does require patience and a methodical approach. Most problems are simpler than they first appear—you just need to find them before they find more ways to ruin your day.