
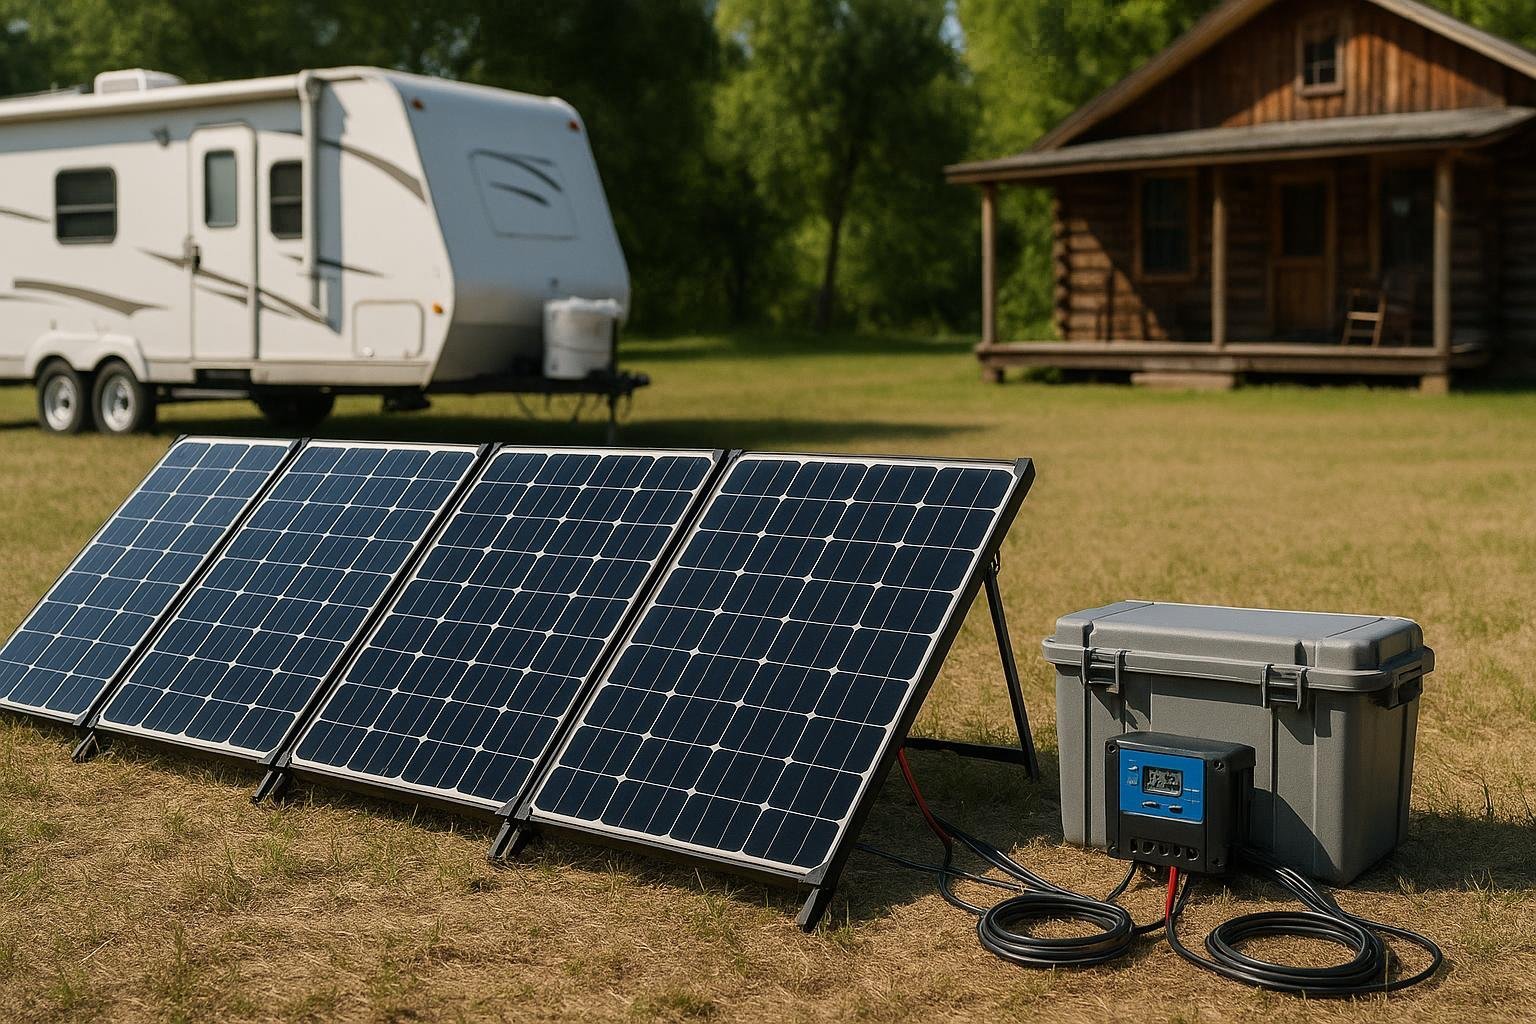
Low-Voltage, No-Roof Install: Portable Solar Ideas for Beginners
Starting with solar doesn’t have to involve risky climbs or complex roof work. This beginner-friendly guide focuses on no-roof, low-voltage setups that are portable, ground-ready, and scalable for both DIY homeowners and RV enthusiasts. Learn practical configurations you can deploy today and expand safely over time.
Why low-voltage, no-roof solar is ideal for beginners
Low-voltage solar runs at 12 or 24 volts and avoids high-voltage, grid-tied systems. No-roof means panels sit on the ground or in portable frames rather than being mounted to a roof. This combination keeps installation simple, safe, and highly adaptable.
What “low-voltage, no-roof” means
- Panels stay on the ground or in a portable frame, making setup and storage easy.
- Wiring runs at 12V or 24V DC with a compact charge controller.
- Batteries are kept in a safe, accessible location for straightforward maintenance.
Why it’s beginner-friendly for DIY homeowners and RV owners
- Lower risk and simpler hardware without roof penetrations.
- Flexible panel placement to chase sun, shade, or storms.
- Clear safety boundaries with lower voltages and simplified wiring.
- Fast, tangible results that you can test and learn from right away.
- Budget-friendly growth: start small and add capability over time.
Ground-ready, portable layouts: panels on stands, wheels, and clear surfaces
Explore practical configurations that are portable, ground-ready, and easy to scale.
Simple configurations you can start with this week
Config A — Starter portable kit for a small space
- Typical setup: 100–150W portable panel, 10A PWM controller, 12V battery (lead-acid or LiFePO4).
- Use case: Cabin, shed, or tiny camper needing a few lights and USB/cigarette-lighter outlet.
- What you’ll manage: One panel, one controller, one battery, simple DC wiring with fuses.
- Why it works: Low cost, quick setup, clear feedback on performance.
Config B — Ground-ready flexibility for RV or cabin
- Typical setup: 200–400W of panels (folding or portable), MPPT controller, 12V or 24V battery bank.
- Use case: RV living or weekend cabin, charging the house battery while you travel or park.
- What you’ll manage: A small battery bank, better charging efficiency, and a tidy ground-mounted stand.
- Why it works: More usable energy without roof installs; easy to relocate.
Config C — Growth path for full days of power
- Typical setup: 600–1000W of panels on a ground frame, 24V system with two or more 12V batteries in series/parallel, robust MPPT controller.
- Use case: Regular off-grid living, hobby farm, or a larger RV setup.
- What you’ll manage: A scalable array, balanced battery bank, and a programmable charger.
- Why it works: Hands-on experience with larger energy needs and future expansion.
Tips for choosing components
- Start with real energy needs: lighting, chargers, small appliances, and a few devices you regularly use.
- Prioritize safety: proper fusing, weatherproof connections, and good cable sizing.
- Plan for weather: portable panels with durable frames perform best in varied conditions; store panels dry when not in use.
Safety essentials you should know
- Use proper fusing: Place fuses or circuit breakers close to the battery on all DC circuits.
- Right cable sizing: Use cables thick enough for the current and distance; avoid overheating.
- Grounding and mounting: Ensure frames are stable and off the ground to prevent tipping or water contact.
- Battery safety: Ventilation for certain chemistries, avoid short circuits, and never exceed manufacturer charging limits.
- Weather protection: Keep controllers and connections dry; use weatherproof enclosures for outdoor locations.
- Safe handling: Disconnect panel power when wiring, and avoid touching live terminals.
Scalability and long-term plans
- Add panels: If your daily energy target rises, simply add more portable panels or a larger ground frame.
- Expand battery capacity: Increase 12V or 24V battery banks to store more energy for cloudy days or longer outings.
- Upgrade controllers: Move from PWM to MPPT as energy goals grow; this improves charging efficiency, especially in partial sun.
- Move to 24V operation: For larger systems, a 24V configuration reduces current for the same power, easing wire size demands and improving efficiency.
- Integrate with other power sources: Use generators or shore power to top off batteries and balance usage.
Quick-start checklist for today
- Define your usage: List essential loads (lights, phone charging, small cooler, vent fans) and their wattage.
- Pick your starting kit: Choose Config A for a first-timer or Config B for more capability.
- Gather basics: Panel, controller, battery, fuse kit, mounting frame or stand, cables, and waterproof enclosures.
- Select a sunny location: Choose a spot with good sun exposure, minimal shading, and a stable surface.
- Plan for safety: Install fuses, ensure correct polarity, and keep battery terminals protected.
- Set up and test: Connect in sequence (panel to controller, controller to battery, load to battery) and measure voltage and charging current.
- Track results: Note daily sun hours and battery state to inform future additions.
Common mistakes to avoid
- Overlooking shading: Even partial shade reduces output; position panels for maximum sun.
- Skipping fuses: Always fuse DC circuits to protect both panels and batteries.
- Underestimating wiring needs: Undersized cables cause voltage drop and heat; size cables for current and distance.
- Mixing battery chemistries improperly: Match battery chemistry with controller settings and charging profiles.
- Ignoring weather: Panels and controllers should be weatherproof or sheltered from direct exposure to rain and snow.
- Relying on a single panel: One panel may not meet daily energy needs; plan for growth if more power is required.
Realistic expectations and benefits
- Quick wins: You’ll see a noticeable improvement in how reliably you can run lights and small devices.
- Hands-on learning: You gain practical skills in solar basics, battery care, and system monitoring.
- Safety-first approach: The low-voltage setup minimizes risk while you learn proper wiring and placement.
- Portable flexibility: Move your panels between the RV, campsite, or shed as needed.
- Budget-friendly growth: You can upgrade gradually without breaking the bank.
A practical mindset for getting started today
- Start small, dream big: Begin with a modest kit and a clear daily energy target.
- Focus on reliability: Choose well-reviewed panels and a controller with solid efficiency for your climate.
- Prioritize safety: Build in fuses, keep rooms ventilated, and store batteries properly.
- Track and adjust: Use a simple log to note sun exposure, charging levels, and daily usage.
- Learn by doing: Each time you add a panel or expand the battery, you’ll deepen your understanding.
Closing thoughts
Low-voltage, no-roof solar is a practical, beginner-friendly entry into solar power for both DIY homeowners and RV owners. Portable, ground-ready, and scalable, it lets you start today and grow as your energy needs change. By focusing on safe, simple configurations and a clear growth path, you can build confidence while delivering power to essential loads.
If you’re ready to take the first step, revisit your daily energy needs, pick a starter configuration, and set up your ground-based system in a sunny corner of your property or campsite. The idea of low-voltage solar for beginners becomes a practical, repeatable approach to reliable power you control.
Related Reading
For related tips, check out our renters’ portable solar guide. For general background on solar technology, see the National Renewable Energy Laboratory’s solar research overview.