
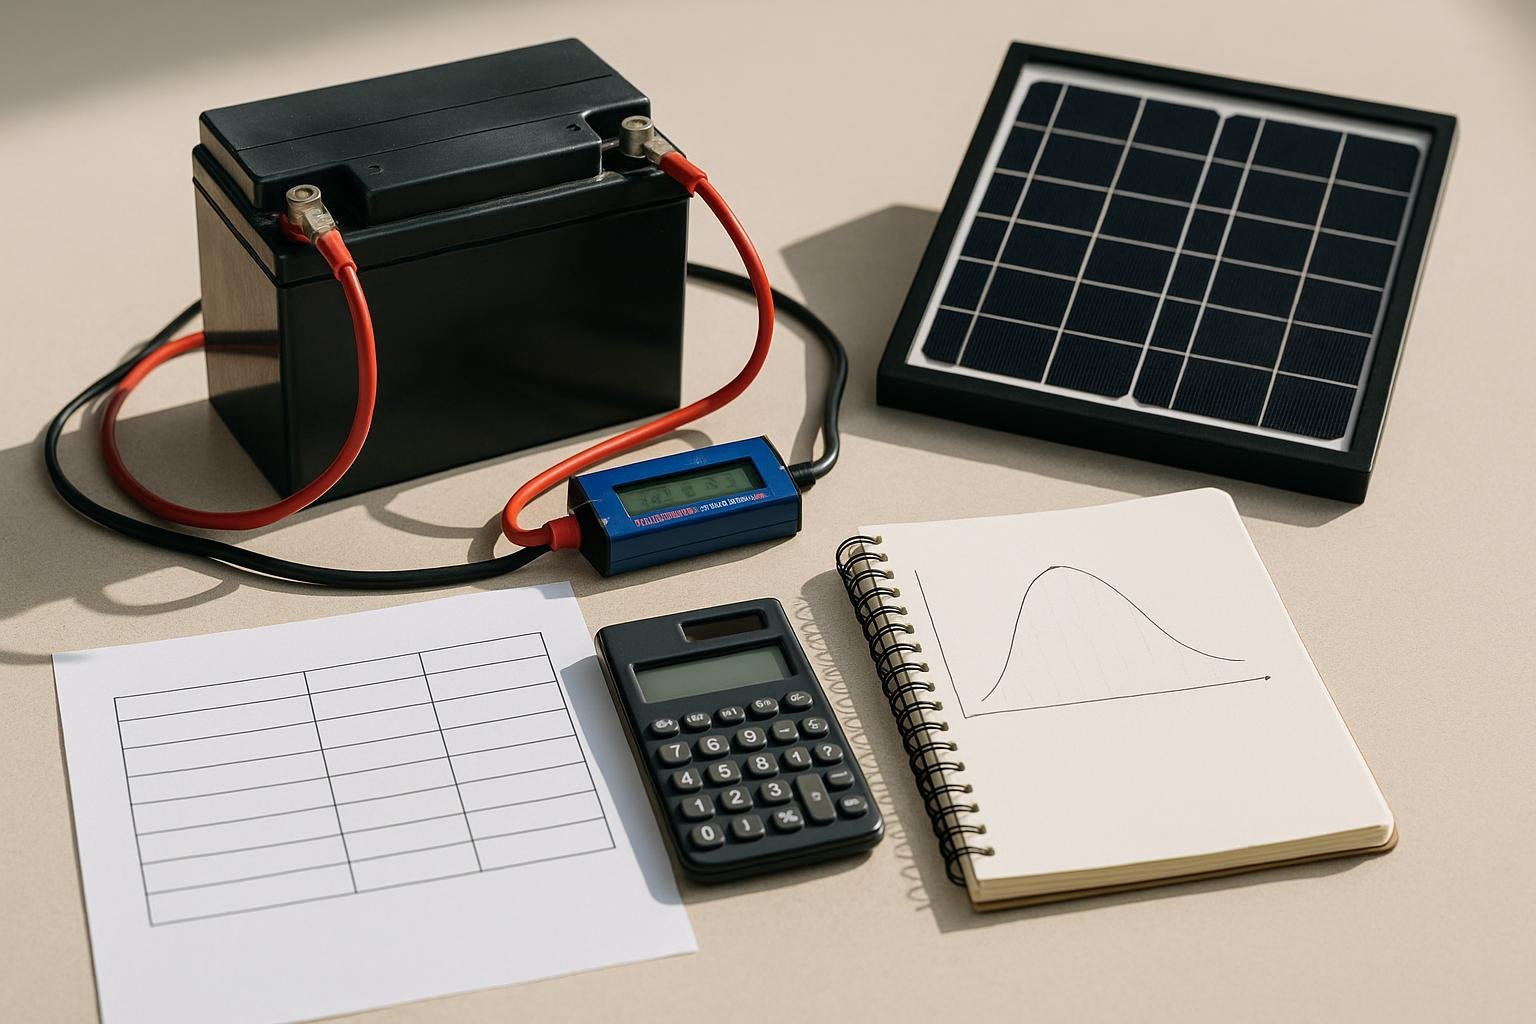
A 7-Day Guided Inventory to Size Your First Battery
Embarking on your first off-grid battery install? This week-long process will guide you from a simple energy audit to a starter battery size you can trust. You’ll log real usage, build a load curve, and translate that into a practical battery size using a downloadable template and worked example calculations.
Every DIY solar project begins with understanding what you actually run and for how long. The approach below stays practical: record what you use, estimate runtime, and total daily energy in watt-hours (Wh). By the end of day seven you’ll have a defensible number for your first battery plus room to adjust for weather, solar hours, and future loads.
Day 1 — Gather your typical daily energy tasks
Make a simple list of the major loads you run each day. Common candidates include refrigeration, lighting, laptops/phones, fans, pumps, and cooking devices. Focus on what you actually use, not every lamp in the house. A lean list makes the math reliable and the template easier to fill.
Day 2 — Estimate runtimes and power levels
For each item on your Day 1 list, estimate how many hours you use it and its typical draw. Examples: fridge cycling around 100 W when running; lights 10–50 W per fixture; laptop charging 60–90 W; water pump 120–150 W. Sum these to an estimated daily energy in Wh.
Pro tip: keep your numbers conservative for planning; you can tighten later after you collect real data.
Day 3 — Measure actual daily energy
Use a watt-meter or your inverter’s energy log to capture actual usage for one full day. If you’re measuring with a temporary meter, log wattage for each device and multiply by hours used. This yields a realistic Wh/day figure you can trust.
Day 4 — Build a real-world load curve
Plot the hourly (or 30-minute) energy use to see when you peak and when you have charging headroom. A simple curve will show you how the battery will be stressed during peak loads and how solar input fits around those peaks. The goal is a daily total that aligns with the measured Wh/day.
Day 5 — Convert to a starter battery size
Take your Wh/day total and apply a few safety margins. For off-grid use, most designers pick a battery bank that provides multiple days of autonomy and limit deep discharges. A practical equation looks like this: Ah = (Wh/day × autonomy_days) ÷ (system_voltage × DoD).
Example: if you plan 2 days of autonomy and you operate at 12 V with a 50% DoD, a 600 Wh/day usage becomes: Ah = (600 × 2) ÷ (12 × 0.5) = 1200 ÷ 6 = 200 Ah. You’d then pick a battery bank around 200–250 Ah to give you a cushion. The downloadable template will run these numbers for you.
Want a quick reference? See the starter battery guide for practical battery sizing rules for common chemistries.
Day 6 — Add headroom and plan for growth
Always add headroom for cloudy days, seasonal load increases, and efficiency losses. A common practice is to target 1.5–2× your measured Wh/day as usable capacity, then size the bank for that DoD. If you expect new loads like a freezer or additional electronics, account for them now rather than later.
For more scenario-driven sizing ideas, consider real-world designs in our start-small solar case studies.
Day 7 — Review, fill the template, and compare options
Finish the template with your numbers, then compare battery options from affordable starter banks to larger packs. If you’re sizing a compact system for an RV, you might find useful tips in our RV sizing tips article.
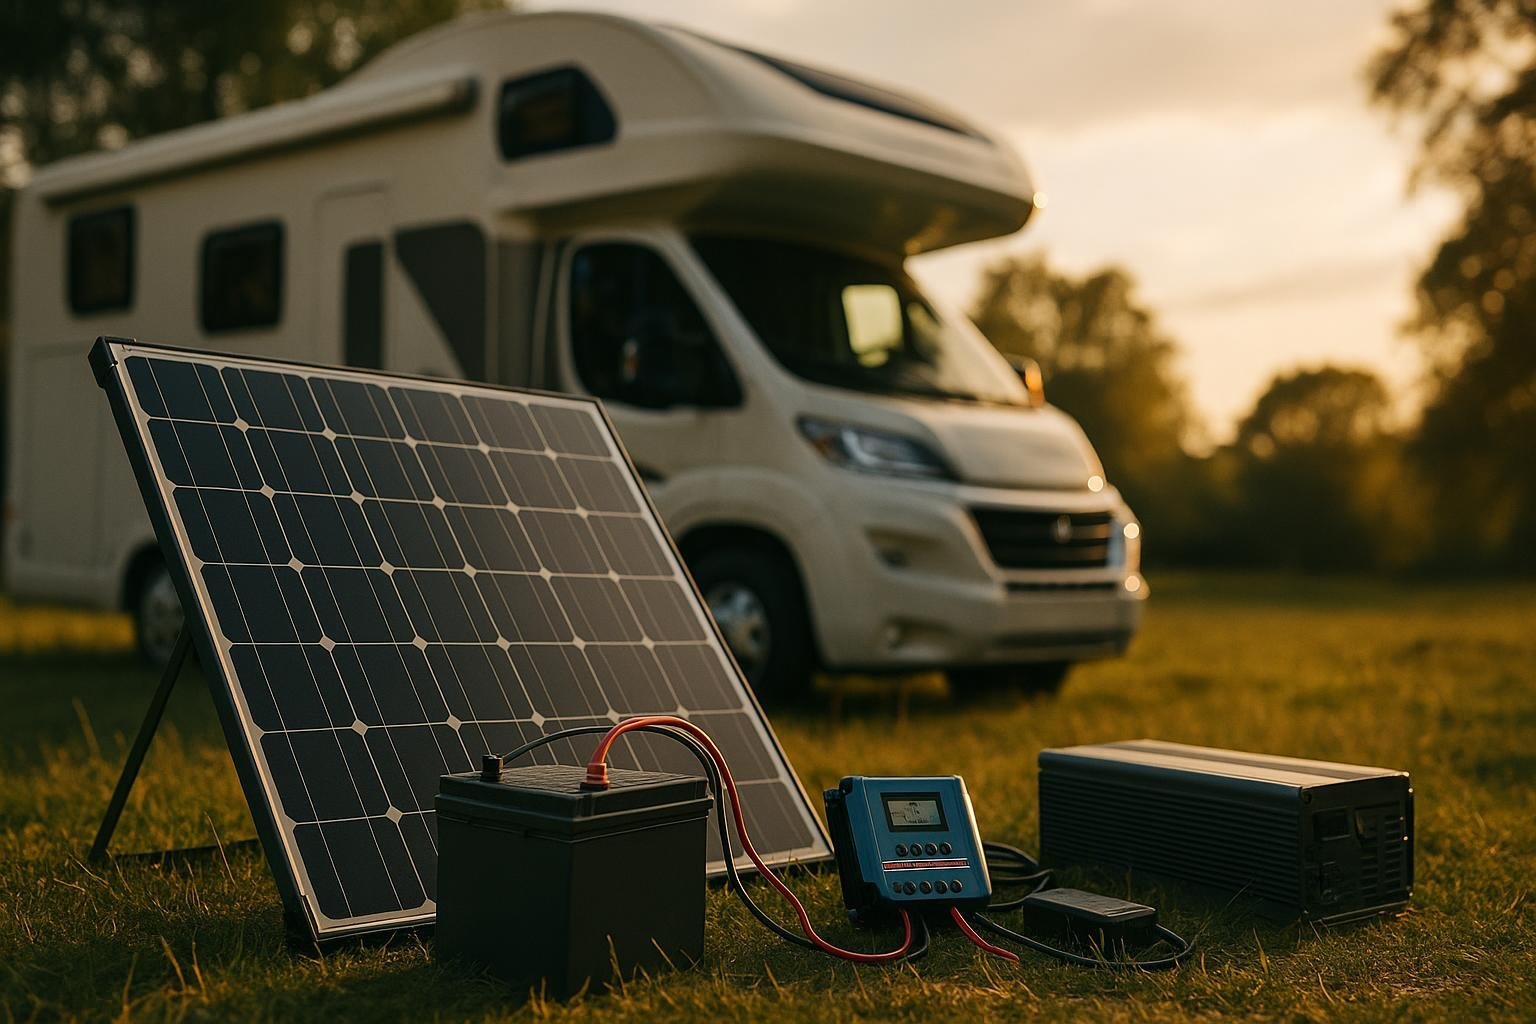
Revisit your load curve after a few weeks of real data and adjust the plan. The goal is a practical, install-ready battery size you can actually use.
Related Reading
For related tips, check out our battery bank sizing guide. For general background on solar technology, see the National Renewable Energy Laboratory’s solar research overview.