
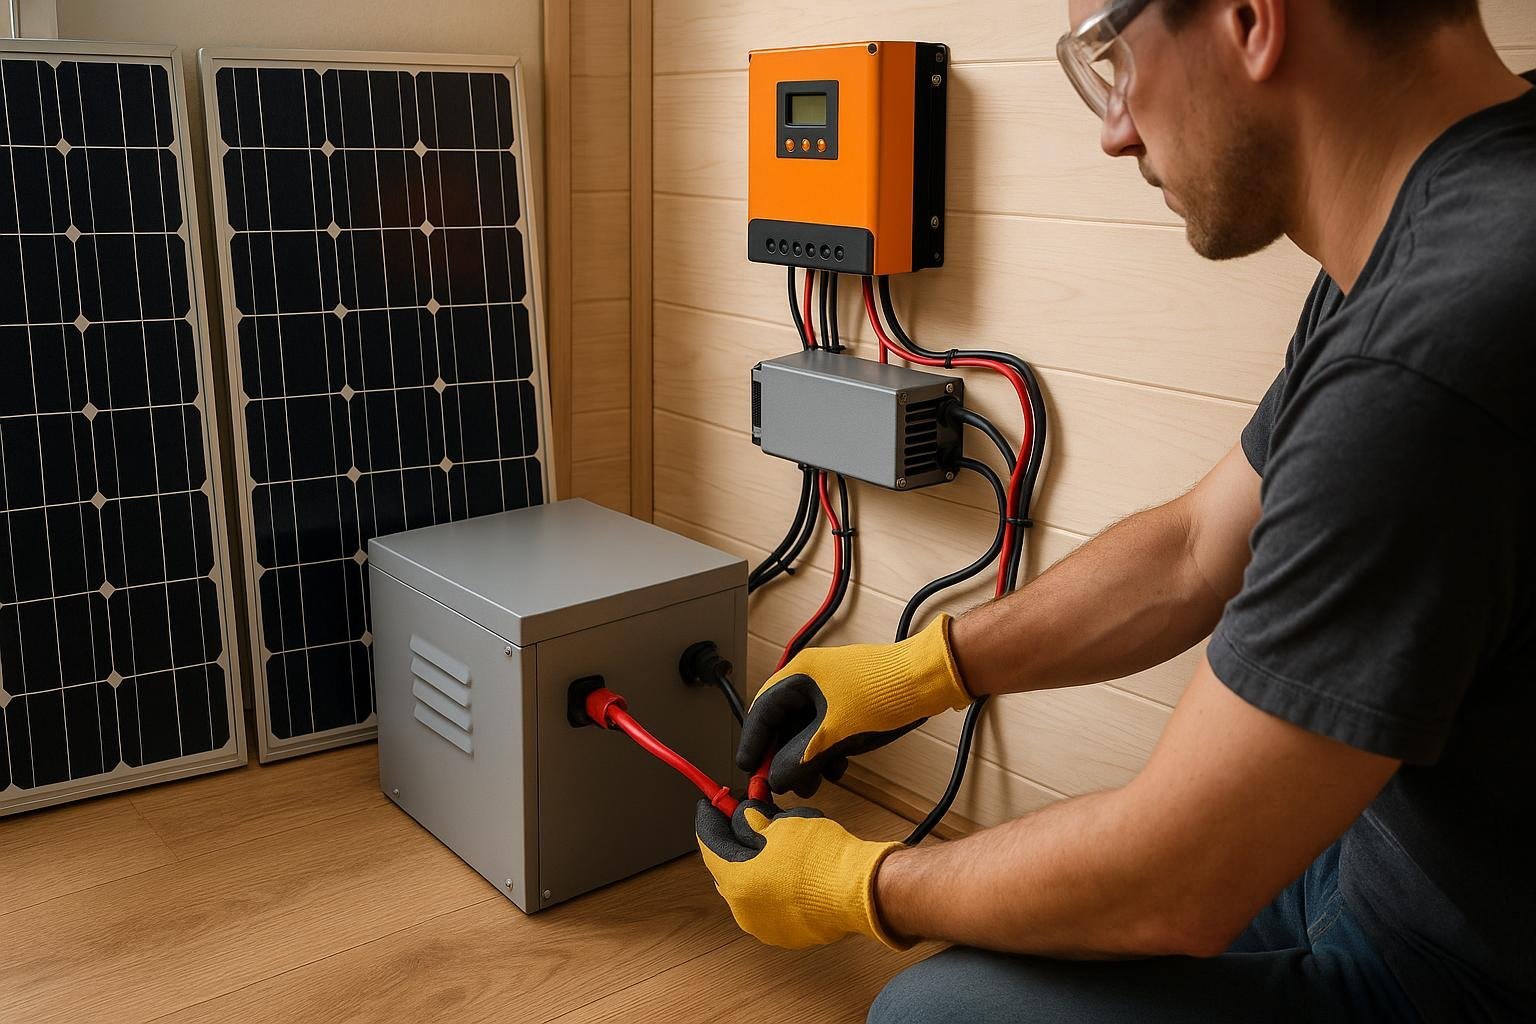
The 48-Hour Solar Playbook: Overview, goals, and how this guide helps you
Welcome to a practical, hands-on blueprint for building a compact solar backup in a single weekend. This guide is tailored for DIY homeowners and RV enthusiasts who want reliable power without a big budget or lengthy install. You’ll learn how to size, assemble, and validate a tiny solar backup system that keeps essential loads powered when the grid is unavailable or you’re off-grid.
Why a tiny solar backup makes sense for home and RV
- Keeps critical devices powered during outages or remote camping trips.
- Starts small and scales later as needs grow.
- Leans on economical, common components to keep costs low.
- Quieter and cleaner than portable generators, with fewer moving parts to maintain.
With a weekend-focused plan, you’ll build a compact, dependable power source you can rely on for days, not hours. The emphasis on practical sizing, safe wiring, and a repeatable validation routine makes this approach approachable for beginners while staying robust for seasoned DIYers.
What you’ll achieve in a 48-hour weekend
- A clearly sized system tailored to your essential loads.
- A ready-to-run backup pack you can deploy in minutes.
- A documented charging and discharging routine you can repeat confidently.
- A safety checklist and maintenance plan to keep the system reliable.
- Hands-on experience with affordable components and straightforward wiring practices.
The goal isn’t to power every device endlessly, but to keep essentials—lights, refrigeration for a short period, device charging, and a modem or heater fan—available when you need them most. This is the essence of a tiny solar backup system: practical, affordable resilience in a compact package.
Safety and planning basics
- Work in a dry, ventilated area and avoid standing water near electrical gear.
- Use appropriate personal protective equipment and follow manufacturer instructions for all components.
- Isolate the system from the main grid before wiring; label disconnects clearly.
- Incorporate fuses, circuit breakers, and proper gauge wiring to handle expected currents.
- Respect battery safety: never short terminals, handle with care, and store away from heat sources.
- Keep a simple wiring diagram on file for future tweaks or troubleshooting.
These basics help you prevent common DIY mistakes and set a solid foundation for the rest of the build.
Core components at a glance
- Solar panel(s): a small roof- or portable panel(s) that fit your space and budget.
- Charge controller (MPPT preferred): optimizes energy capture from the panel to the battery.
- Battery bank: a compact option such as LiFePO4 for longevity and safety, or AGM lead-acid if you’re budget-focused.
- Inverter (pure sine wave, 300–1000W): powers sensitive electronics and appliances without distortion.
- Cabling, connectors, fuses, and a simple distribution plan (bus bars or a fuse block).
- Battery monitor or basic voltage/current display to track health in real time.
- Enclosure or shelving to keep wiring neat and components protected.
Choosing economical, readily available components helps you stay within budget while keeping the project approachable for a weekend build.
The step-by-step weekend blueprint
The plan is designed to be repeatable and forgiving. You’ll work in two focused days, with clear milestones and built-in validation steps.
Day 1 — Plan and Size
- Define essential loads and estimate daily energy needs in watt-hours.
- Size panel wattage, battery capacity, and inverter rating using practical guidelines.
- Gather components, tools, and safety gear. Double-check compatibility (voltage, connectors, fuses).
- Plan the physical layout: panels mounted or staged, battery in a vented enclosure, controller mounted, inverter placed for cooling.
- Wiring planning: route main DC wiring with correct gauge; connect controller to battery per manufacturer diagram.
- Install a primary safety disconnect and fuse block between battery, controller, and inverter.
Day 2 — Build, wire, test, and validate
- Complete wiring: panel to controller, controller to battery, battery to inverter, with monitoring in view.
- Power up and confirm indicators show a healthy state.
- Run a controlled load test with essential devices to verify operation under real-world conditions.
- Perform a brief solar-generation test outdoors (or near a bright window) to confirm charging behavior.
- Document voltages, currents, and runtime for a simple as-built reference.
- Refine wiring or controller settings if measurements drift, then re-test.
Validation and troubleshooting checklist
- Safety check: all covers in place, no exposed conductors, and disconnects clearly labeled.
- Open-circuit voltage test: verify panel voltage without load to catch wiring faults.
- Battery health: resting voltage, temperature during charging, and any signs of swelling.
- Charge controller status: indicators showing charging activity and correct battery voltage.
- Inverter test: run a small load (lights, USB charger) and ensure clean power without overheating.
- Runtime estimation: compare expected vs actual runtime with your measured load.
- Weather tolerance: plan for seasonal sun variation and aim for several hours of strong sun daily.
- Maintenance plan: quarterly inspections, panel cleaning, and fuses/mounts checks.
Budget and sourcing tips
- Shop smart: look for discounted panels, refurbished controllers, or lightly used batteries from reputable sellers.
- Prioritize a reliable MPPT controller to maximize energy capture in mixed conditions.
- Choose battery type based on budget and maintenance tolerance: LiFePO4 for longevity; AGM or flooded lead-acid as budget-friendly options.
- Inverters: a 300–500W pure sine wave unit is typically enough for essential loads in a tiny solar backup system.
- Reuse components where possible, but don’t cut corners on safety-critical parts like fuses, wiring, and enclosures.
Quick-start sizing guide
Use this practical method to size a weekend-ready system without getting overwhelmed by numbers.
- List essential loads and their power in watts; estimate hours per day for each.
- Calculate daily energy need: sum of watts × hours (Wh/day).
- Estimate location sun hours per day (typical 4–6 hours; adjust for season/shading).
- Size inverter with headroom for surge and peak loads (20–30% above max continuous draw).
- Panel wattage: select panels that meet or exceed daily energy needs when multiplied by sun hours and controller efficiency.
- Battery capacity: consider DoD (50% for lead-acid; 80–90% for LiFePO4).
Example: If essential loads total 400 Wh/day, with 4 sun hours/day, and a 12V LiFePO4 system at 80% DoD, you’d need about 400 / (12 × 0.8) ≈ 42 Ah. Plan for 50–60 Ah to add margin. Pair with a 100–150W panel and a 300–500W inverter for a compact, weekend-ready setup.
What to do after the weekend
- Document your build: photos, wiring diagram, measurements for future repairs.
- Maintain a simple log: check connections, port cleanliness, and firmware updates for the controller.
- Consider modest expansions: add a second panel, larger battery, or higher-capacity inverter if needed.
- Store components properly: cool, vented battery storage; protect cables during travel.
- Share your experience: write a quick recap to help others adopt this practical tiny solar backup approach.
By following this 48-hour playbook, you’ll gain confidence in building and validating a compact solar backup that works for home and RV use. You’ll also have a repeatable method you can adapt as needs evolve, keeping energy independence within reach without breaking the bank.
Related Reading
For related tips, check out our tiny solar backup test guide. For background on how solar energy storage works, see the U.S. Department of Energy’s overview of energy storage.