
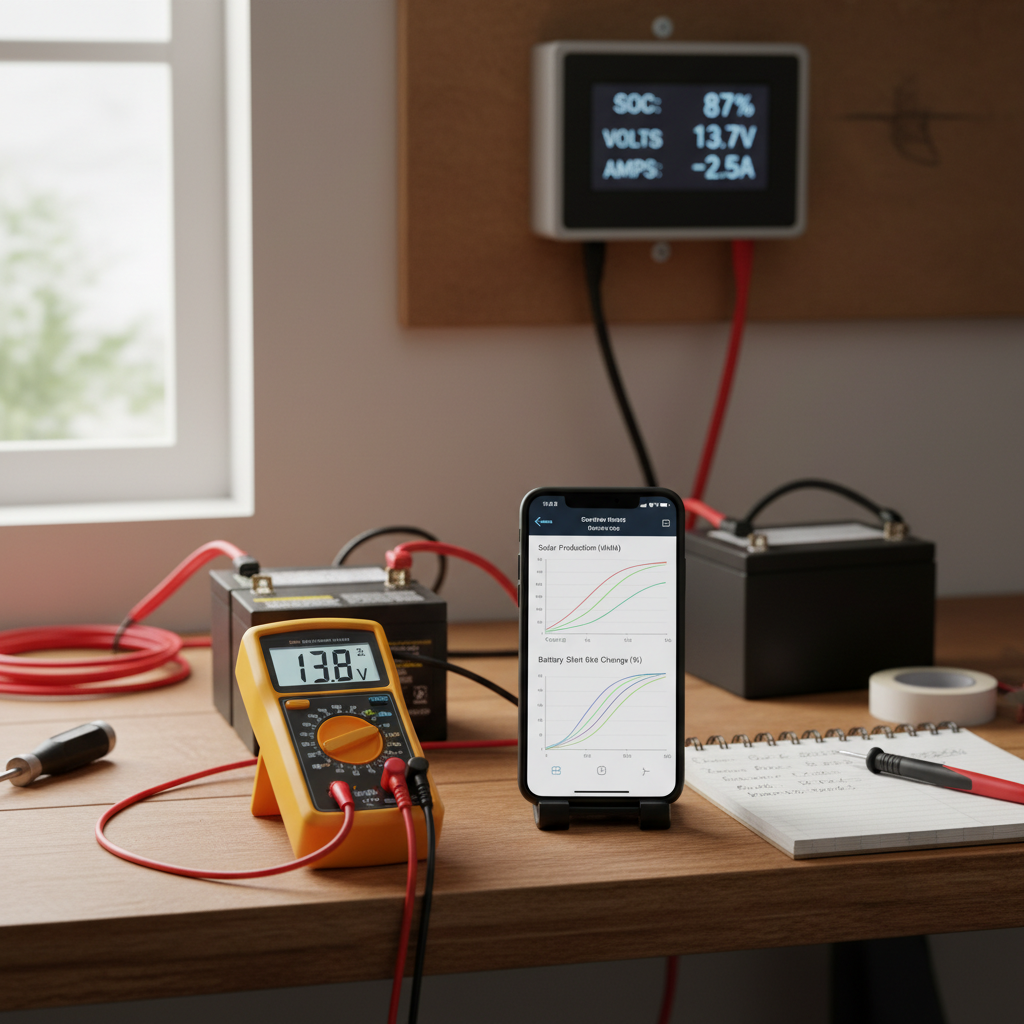
You built your solar system, wired everything perfectly, and watched those panels soak up sunshine for the first time. Now what? How do you know if your solar system monitoring setup is actually delivering the power you calculated, or if it’s just an expensive roof decoration?
I learned this lesson the hard way when my first system ran for three months producing half the expected power. Turns out one panel was shaded by a tree branch I swore wasn’t there during winter planning.
You don’t need a $500 monitoring system that tracks seventeen different metrics you’ll never understand. You need simple, practical solar system monitoring that tells you what matters: is your system working, and if not, where’s the problem?
Why Solar System Monitoring Actually Matters
Here’s the thing about solar systems – they fail silently. Your lights still work because you’re pulling from the grid. Your batteries still charge because they’re getting some power. But you could be losing 30% efficiency and never know it.
I’ve seen systems where:
- One panel in a string died, cutting output by 25%
- Bird droppings blocked panels for months
- Loose connections created resistance that cooked wires
- MPPT controllers failed and nobody noticed
The difference between a working system and a working-well system can be hundreds of dollars per year. That’s worth monitoring.
The Three-Tier Monitoring Approach
Not everyone needs NASA-level data. Here’s how to match your monitoring complexity to your actual needs:
Tier 1: Basic Reality Check ($0-50)
Start here if you just want to know “is my system alive?” This covers 90% of DIY solar owners perfectly.
What you need:
- Multimeter (you already have one, right?)
- Kill-a-watt meter for AC loads
- Smartphone weather app
- Simple logbook or phone notes
Take voltage readings at your charge controller once a week. Sunny day at noon should show your panels producing near their rated voltage. If you calculated your power needs correctly, this basic check catches most problems.
Compare your battery voltage in morning vs evening. Healthy batteries should show a clear charge/discharge cycle. Dead or dying batteries stay flat – literally and figuratively.
Tier 2: Smart but Simple ($50-200)
This tier gives you real data without drowning in spreadsheets. Perfect for systems powering significant loads or off-grid setups.
Key components:
- Bluetooth-enabled MPPT charge controller
- Battery monitor with shunt
- Basic inverter monitoring (if grid-tied)
Most modern MPPT controllers have built-in monitoring that connects to your phone. Victron, Renogy, and AIMS all make controllers that show daily/weekly production data. This tells you if yesterday was better than today, and whether that’s because of weather or problems.
A battery monitor tracks what goes in and out of your battery bank. Essential for off-grid systems where you need to know your true state of charge, not the lying voltage readings batteries give under load.
Tier 3: Data Nerd Paradise ($200-500)
For the Excel warriors and system optimizers. Only go here if you genuinely enjoy analyzing data or have a complex multi-array setup.
Professional-grade options:
- Dedicated monitoring systems (SolarEdge, Enphase for grid-tie)
- Individual panel optimizers with monitoring
- Comprehensive energy management systems
- Historical data logging and analysis tools
These systems track individual panel performance, weather correlation, efficiency trends, and enough data to write a PhD thesis. Great if you’re running a solar business or just love spreadsheets.
The Five Critical Metrics That Actually Matter
Forget the 47 different measurements fancy systems track. Focus on these five numbers that tell you everything important:
1. Daily Energy Production (kWh)
This is your system’s report card. Track it weekly, not daily – weather varies too much day-to-day to mean anything.
Compare to your expected production based on panel orientation and local weather. If you’re consistently 20% below expected, you have a problem worth investigating.
2. Peak Power Output
On a clear day around solar noon, your system should hit close to its rated capacity. If your 400W panels peak at 280W consistently, something’s wrong.
This catches shading issues, dirty panels, failing panels, or wiring problems that reduce overall system capacity.
3. Battery State of Charge
For battery systems, this tells you if your storage is keeping up with your loads. If your batteries never get above 80% charge on sunny days, you either need more panels or fewer loads.
Track the daily swing – healthy batteries should cycle from 90-95% down to your cutoff point (usually 50% for lead-acid, 20% for lithium).
4. System Voltage Trends
Watch for voltage drops under load. If your wire runs are properly sized, voltage should stay stable. Dropping voltage means resistance somewhere – loose connections, undersized wiring, or failing components.
5. Error Codes or Alarms
Modern equipment throws error codes when something’s wrong. Don’t ignore them. Write them down and look them up – they usually point directly to the problem.
DIY Solar System Monitoring Setup
Here’s how to build effective monitoring without a computer science degree:
Start With Your Charge Controller
If you’re buying new equipment, get an MPPT controller with built-in monitoring. The extra $50-100 pays for itself the first time it catches a problem early.
Set up the smartphone app and check it weekly. Look for trends, not daily fluctuations. Your MPPT controller settings should show consistent charging patterns when conditions are similar.
Add a Battery Monitor
For off-grid systems, a battery monitor is worth its weight in lithium. It tracks energy in/out over time, giving you true state of charge instead of guessing from voltage.
Install the shunt on the negative cable between battery bank and system. Follow the instructions exactly – wrong installation gives wrong readings.
Keep a Simple Log
Once a week, jot down:
- Peak power that day
- Total energy produced
- Battery state at end of day
- Any unusual weather or system behavior
Takes five minutes. Gives you enough data to spot trends and problems without becoming a full-time job.
When Monitoring Shows Problems
Monitoring only helps if you act on what it tells you. Here’s what different problems look like:
Gradual Performance Decline
Usually dirty panels, aging equipment, or developing shading issues. Clean panels first – it’s free and fixes 60% of performance problems.
Sudden Power Drop
Panel failure, blown fuse, loose connection, or new shading. Check your fusing first, then work backwards through the system.
Weird Voltage Behavior
Often wiring issues or failing charge controllers. Use your troubleshooting skills to trace the problem systematically.
Battery Not Charging Fully
Could be undersized solar array, aging batteries, or wrong charge settings. Review your load testing calculations and battery specifications.
The Bottom Line on Solar Monitoring
You don’t need to become a data scientist to monitor your solar system effectively. Start simple, track what matters, and upgrade your solar system monitoring as you learn what information you actually use.
The best monitoring system is the one you’ll actually check regularly. A $50 setup you look at weekly beats a $500 system you ignore.
Your solar investment is too big to just hope it’s working properly. But monitoring doesn’t have to be complicated or expensive to keep your system running at peak performance.
Start with basic voltage checks and simple logging. Add complexity only when you need it. Your wallet and your sanity will thank you.