
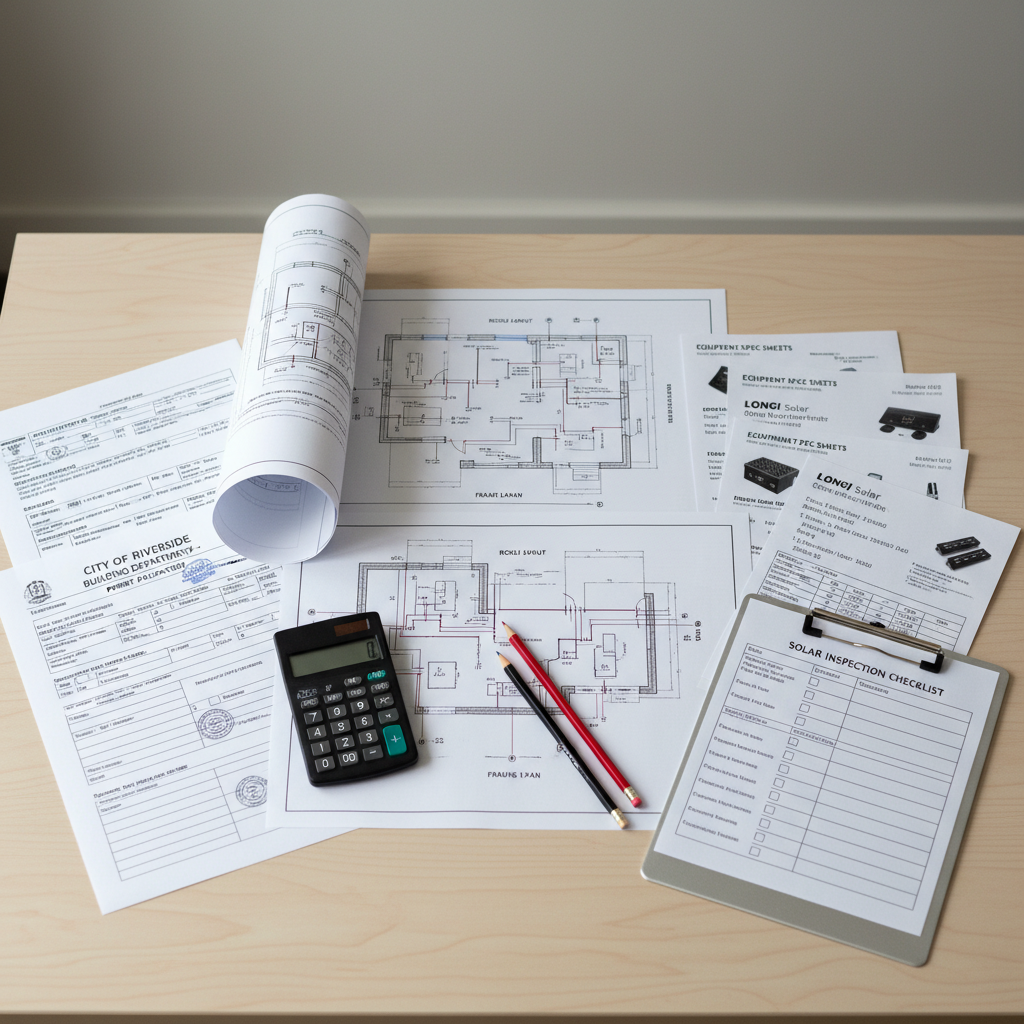
Getting DIY solar permits feels like trying to decode alien hieroglyphics written by caffeinated bureaucrats. I learned this the hard way when my first permit application got rejected three times for reasons that would make a philosophy professor weep. But here’s the thing – once you know the game, DIY solar permits become just another checkbox on your project list.
The permit process isn’t designed to torture you (though it feels that way). It exists because electricity can literally burn your house down if you mess it up. Fair enough.
Why DIY Solar Permits Matter More Than You Think
Skip the permits and you’re rolling dice with your homeowner’s insurance. House fire from unpermitted electrical work? Good luck with that claim. Your insurance company will laugh all the way to “claim denied” faster than you can say “but it was just a small solar array.”
Plus, selling your house later becomes a nightmare. Buyers see unpermitted electrical work and either run away or demand you rip everything out. Neither option feels great.
Most importantly, permits force you to think through safety details you might skip. Like proper solar fusing and whether your wire gauge can handle the current without turning your walls into kindling.
Before You Start: System Planning for Permit Success
Don’t walk into the permit office with a napkin sketch. Seriously. I tried that once. The inspector looked at me like I’d just suggested we rewire the building with dental floss.
Start with proper solar panel sizing calculations. Know your exact power needs, system voltage, and component specifications. The permit office wants technical details, not hopes and dreams.
Your system design needs to show:
- Exact panel placement and mounting details
- Electrical routing from panels to charge controller
- Grounding and bonding connections
- Disconnect locations and labeling
- Battery storage specifications if applicable
This isn’t busywork. These details help you catch problems before they become expensive mistakes.
Understanding Your Local DIY Solar Permit Requirements
Every jurisdiction handles permits differently. Some places treat a small DIY solar system like installing a ceiling fan. Others act like you’re building a nuclear reactor in your backyard.
Call your local building department first. Ask specifically about DIY solar installations under 10kW (or whatever your system size is). Get the person’s name and write down what they tell you. Building departments have selective memory sometimes.
Most areas require:
- Building permit for roof-mounted systems
- Electrical permit for all grid-tie systems
- Structural analysis for heavy arrays
- Setback compliance from roof edges
Off-grid systems usually need fewer permits, but don’t assume. That assumption cost me two weeks when I had to restart my application process.
Essential Documents: Your Permit Application Survival Kit
Building departments love paperwork more than cats love knocking things off tables. Come prepared or come back later – their choice, not yours.
Every permit application needs:
- Site plan showing your property boundaries
- Roof plan with panel layout and dimensions
- Single-line electrical diagram
- Equipment specification sheets (panels, inverters, controllers)
- Structural calculations if required
- Utility interconnection agreement (for grid-tie)
The single-line diagram trips up most DIYers. It’s not a wiring diagram – it’s a simplified schematic showing electrical connections. Think subway map, not street map.
Don’t hand-draw anything. Use basic CAD software or even PowerPoint. Inspectors need to read your plans without squinting like they’re deciphering ancient scrolls.
The Inspection Process: What Actually Happens
Inspections aren’t adversarial (usually). The inspector wants your system to be safe and code-compliant. They’re not trying to flunk you for sport.
Most DIY solar permits require two inspections:
Rough Inspection: Before you connect anything permanently. Inspector checks mounting, conduit runs, and grounding. This happens after installation but before energizing the system.
Final Inspection: After everything’s connected and labeled. Inspector verifies proper connections, disconnects, and labeling. They’ll also check that your installation matches your approved plans.
Be there during inspections. Inspectors often have questions about your installation choices. Plus, you’ll learn things that help with future projects.
Common DIY Solar Permit Pitfalls (And How to Avoid Them)
Permit rejections feel personal, but they’re usually simple oversights. Here are the mistakes that cost me time and dignity:
Wrong equipment specs: Your submitted plans must match installed equipment exactly. Change from the specified charge controller? That’s a plan revision and more fees.
Missing labels: Every disconnect, every combiner box, every major component needs proper labeling. “Solar stuff” isn’t acceptable labeling, apparently.
Grounding errors: Equipment grounding and system grounding are different things. Mess this up and you’ll be explaining the difference to an unimpressed inspector.
Code violations: Working space clearances, wire routing, and conductor sizing must follow NEC requirements. No exceptions for “but it’s just a small system.”
The good news? Most permit offices will tell you exactly what needs fixing. It’s not a guessing game once you know the rules.
Timeline and Costs: Setting Realistic Expectations
Permit processing takes weeks, not days. Plan accordingly or watch your project timeline explode like a poorly fused battery bank.
Typical timeline:
- Application submission: 1-2 weeks for initial review
- Plan revisions (if needed): Another 1-2 weeks
- Permit approval: 1 week after plans pass
- Inspection scheduling: 1-2 weeks out typically
Permit costs vary wildly. Some places charge $50. Others want $500+. Rural areas are usually cheaper than urban centers, but not always.
Budget for potential plan revisions. That “simple” change often requires new calculations, updated drawings, and additional review fees.
Working With Inspectors: Tips From the Trenches
Inspectors are people doing their jobs. Treat them like humans and they’ll usually work with you to solve problems rather than create them.
Show up prepared. Have your approved plans, equipment manuals, and any test equipment ready. Nothing impresses an inspector like being organized and knowing your system.
Ask questions if you don’t understand something. “Why does this need to be different?” gets better results than “That’s stupid.” Trust me on this one.
Document everything. Take photos of your installation before and after inspection visits. Sometimes things get “clarified” between visits.
When to Call in Professional Help
Sometimes the smart DIY move is knowing when you’re in over your head. Complex grid-tie systems, structural modifications, or utility interconnections might warrant professional help for the permit process.
A solar contractor can handle permits and inspections for a fee while you do the actual installation. This hybrid approach saves money while avoiding permit headaches.
Electrical contractors familiar with solar can also review your plans before submission. Catching problems early costs less than fixing them during inspection.
Your DIY Solar Permit Action Plan
Getting DIY solar permits doesn’t have to feel like combat with faceless bureaucracy. It’s just another step in building a system that works safely and legally.
Start early, document everything, and remember that permit requirements exist for good reasons. Your future self will thank you when your properly permitted system passes inspection without drama.
The paperwork might be boring, but it’s worth it when you’re generating clean power legally and safely. Plus, you’ll sleep better knowing your insurance company can’t weasel out of covering you if something goes wrong.
Now stop procrastinating and call your building department. Those forms won’t fill themselves out.