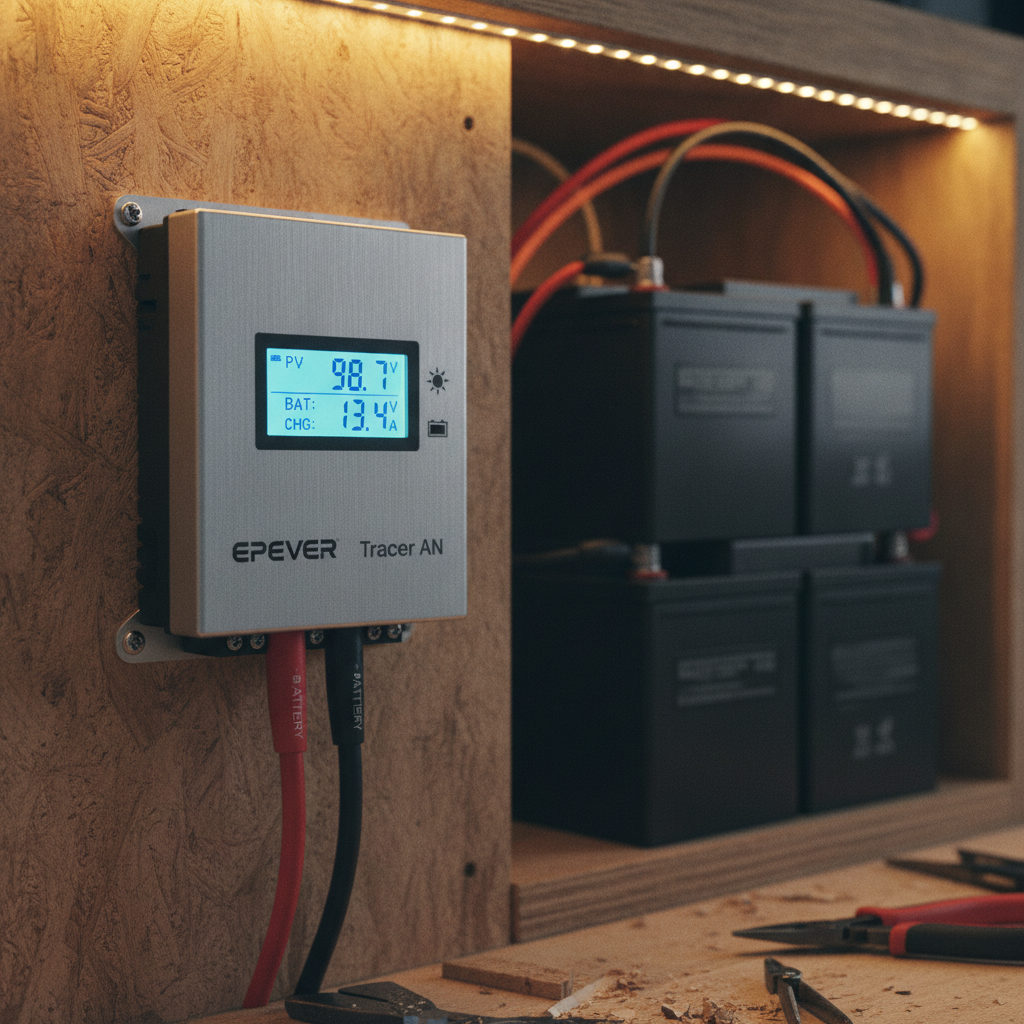
Solar Charge Controller Settings: Stop Killing Batteries
If your battery bank died after a year and you’re blaming the brand, stop. The culprit is almost certainly your charge controller settings. Specifically, the ones you never touched after you plugged everything in and called it done. I’ve been there. Most of us have. The default settings on a lot of controllers are fine-ish for some batteries and quietly catastrophic for others. Let’s fix that before you turn another expensive battery into an expensive doorstop.
Why Charge Controller Settings Actually Matter
Here’s the short version: your charge controller is the gatekeeper between your solar panels and your batteries. It decides how hard to push power in, when to back off, and when to stop. Get those decisions wrong, and you’re either undercharging your batteries (killing them slowly through sulfation) or overcharging them (killing them faster through heat and off-gassing).
Neither death is quick enough for you to notice until it’s too late. That’s the cruel part.
The three settings that matter most are bulk charging voltage, absorption voltage, and float voltage. Understanding what each one does is the difference between a battery bank that lasts a decade and one that’s toast by next summer.
The Three Charging Stages You Need to Understand
Stage 1: Bulk Charging
This is the grunt work phase. Your controller dumps as much current as it can into the battery until it reaches a target voltage. Think of it as filling a glass of water as fast as the tap allows. The battery goes from depleted to roughly 80% full during this stage.
You don’t usually set a “bulk voltage” directly. Instead, it’s the voltage at which your controller transitions to the next stage — absorption. More on that in a second.
Stage 2: Absorption Charging
This is where most batteries get murdered. Absorption is when the controller holds a fixed voltage and gradually reduces current as the battery fills up. The battery goes from ~80% to 100% during this phase.
The problem? If your absorption voltage is set too high, you’re cooking the battery every single charge cycle. Too low, and the battery never fully charges — chronic undercharging leads to sulfation in AGM batteries and capacity loss in lithium.
Getting this number right for your specific battery chemistry is the whole game. We’ll get to exact values shortly.
Stage 3: Float Charging
Once the battery is full, the controller drops down to a lower “float” voltage to maintain charge without continuing to push it. Think of it as keeping the tap barely trickling so the glass stays full without overflowing.
A float voltage that’s too high is a slow cooker for your batteries. Too low, and they’ll slowly self-discharge and sit in a partial state of charge — which, again, is how you get sulfation.
Charge Controller Settings by Battery Chemistry
This is the part everyone skips to, so here it is. But please read the context around it — a number without context is just a way to feel confident while doing the wrong thing.
Before we get into voltages, if you’re not sure which battery chemistry you’re working with, I wrote a full breakdown in the AGM vs Lithium Solar Battery Chemistry Guide that’ll help you figure that out first.
Flooded Lead-Acid (FLA) Batteries
- Bulk/Absorption Voltage: 14.4V–14.8V (12V system)
- Float Voltage: 13.2V–13.5V
- Absorption Time: 2–4 hours typical
FLA batteries are the most forgiving of the three types, but they also need periodic equalization charges — a controlled overcharge to knock sulfation off the plates. Most quality MPPT controllers have an equalization setting built in. Use it monthly if your batteries support it. Check your manual. Don’t equalize sealed batteries. Ever.
AGM (Absorbed Glass Mat) Batteries
- Bulk/Absorption Voltage: 14.4V–14.6V (12V system)
- Float Voltage: 13.5V–13.8V
- Absorption Time: 1–3 hours typical
AGM batteries are sealed. They cannot vent like flooded batteries. Overcharge them and you’re building pressure inside a sealed case. That’s not a chemistry problem anymore, that’s a physics problem. Keep absorption voltage on the conservative side. If your AGM manufacturer’s spec sheet says 14.4V max, respect that number.
Lithium (LiFePO4) Batteries
- Bulk/Absorption Voltage: 14.2V–14.6V (12V system)
- Float Voltage: 13.5V–13.6V (or disable float entirely)
- Absorption Time: As short as possible — often 20–30 minutes
Lithium iron phosphate batteries are the divas of the battery world — high maintenance in terms of settings, but worth it if you do it right. They charge fast. They don’t like sitting at high voltage for long. Many lithium battery manufacturers recommend disabling the float stage entirely, or setting it very low, because lithium batteries don’t self-discharge meaningfully and continuous float voltage just stresses the cells.
Also, lithium batteries have their own Battery Management System (BMS) that acts as a last line of defense. But your BMS kicking in regularly because your charge controller settings are wrong is not a feature. It’s a warning sign.
For a deeper look at how I set up my MPPT controller specifically, the post on MPPT Controller Settings: 5 That Actually Matter walks through the full configuration process step by step.
Temperature Compensation: The Setting Nobody Talks About
Here’s a fun one. Battery voltage requirements change with temperature. Cold batteries need higher charge voltages to fully charge. Hot batteries need lower voltages to avoid overcharge. The difference isn’t trivial — we’re talking as much as 0.3V per 10°C shift.
Most decent MPPT controllers have a temperature compensation setting, usually expressed as mV/°C. A common value is -3mV/°C per cell, which works out to -18mV/°C for a 12V lead-acid battery (six cells). If your controller has a temperature sensor port, use it. Mount the sensor on the battery. This single setting can meaningfully extend battery life, especially in climates with big seasonal temperature swings.
Lithium batteries have a much smaller temperature coefficient and some manufacturers recommend leaving temperature compensation off for LiFePO4. Again — check your battery’s spec sheet. It exists for a reason.
How to Actually Change These Settings
Most modern MPPT controllers let you choose from preset battery profiles or enter custom values manually. If your controller has a preset for your battery type, use it as a starting point, then cross-reference with your battery manufacturer’s recommended charge voltages.
The manufacturer’s spec sheet wins every time. Not the internet forum. Not the YouTube video. Not this blog post. The spec sheet for your specific battery, from the company that made it.
If you don’t have the spec sheet, get it. Seriously. It’s usually on the manufacturer’s website and takes about 90 seconds to find. Those numbers are the actual target.
Once you’ve dialed in your settings, it’s worth running a proper check to confirm everything is working the way you think it is. My post on Solar Load Testing: Verify Your DIY System Actually Works covers exactly how to do that without guessing.
The Most Common Mistakes (That I Also Made)
Using default settings without checking them. Factory defaults are compromises. They’re not tuned for your battery. Always verify.
Setting absorption time too long. More absorption time does not equal more charge. After a certain point, you’re just applying heat stress. Follow the manufacturer’s recommended time window.
Ignoring the float voltage. It seems minor. It’s not. A float voltage 0.3V too high will degrade your batteries faster than almost anything else, because it’s running 24 hours a day.
Not accounting for cable voltage drop. If there’s significant voltage drop between your controller and your batteries, the controller thinks it’s applying the right voltage but the battery is seeing something lower. This results in chronic undercharging. Getting your wiring right matters more than most people realize — the DIY Solar Voltage Drop guide explains how to calculate and fix this.
Quick Reference: Charge Voltages by Battery Type (12V Systems)
| Battery Type | Absorption Voltage | Float Voltage |
|---|---|---|
| Flooded Lead-Acid | 14.4V – 14.8V | 13.2V – 13.5V |
| AGM | 14.4V – 14.6V | 13.5V – 13.8V |
| LiFePO4 (Lithium) | 14.2V – 14.6V | 13.5V – 13.6V (or off) |
Always verify these against your specific battery manufacturer’s documentation. These are general ranges, not universal absolutes.
Bottom Line
Your charge controller settings are not a set-it-and-forget-it situation. They’re the single most impactful thing you can tune in your solar system after you’ve got the panels and batteries in place. Wrong settings are silent. They don’t trip breakers or blow fuses. They just slowly turn your investment into garbage, one charge cycle at a time.
Spend an hour with your battery’s spec sheet and your controller’s manual. Cross-reference the numbers. Set absorption and float voltages correctly for your chemistry. Enable temperature compensation if your system supports it. Then actually verify things are working with a real load test.
That’s it. Genuinely. You don’t need an engineering degree to get this right. You just need to stop assuming the default settings are good enough — because usually, they’re not.